

You’re staring at the password reset screen. The only recovery option it offers is that old email address you abandoned years ago, or one you can’t remember the password to. It feels like a dead end, but it’s not.
Knowing what to do if recovery email is also inaccessible is frustrating, but there’s a defined path forward. The major providers all have manual verification processes designed for exactly this situation, and they work more often than people think. As of 2026, most companies will let you prove account ownership through documentation like account creation dates, previous passwords, or proof of purchase, rather than forcing you to give up.
Here’s how to navigate the process step by step.
Quick Answer
If your recovery email is also inaccessible, use another logged-in device first. If none exist, submit the provider’s manual identity verification form. Provide your account creation date, previous passwords, and any proof of purchase.
For business accounts, verify domain ownership through DNS records or your registrar. The process takes 2, 5 business days, so be patient.
Key Takeaways
- Check active sessions on your phone, tablet, or work computer before doing anything else; you might still be logged in.
- Manual account recovery forms ask for account creation date, previous passwords, and location data; dig these up in advance.
- Business and domain accounts have a separate, stricter recovery path that requires proof of domain ownership.
- Avoid guessing security answers or spamming recovery requests; too many failed attempts will extend your lockout.
- After regaining access, set up multiple recovery options and store backup codes in a password manager.
The Problem: Locked Out With No Recovery Email
Getting locked out of an account when your recovery email is dead is more common than you’d think. Maybe you used a work email you no longer have. Maybe you created the account with a throwaway address you haven’t touched in a decade.
Or maybe that recovery email was on a service that deleted your account for inactivity.
Whatever the cause, the situation feels hopeless. You’re staring at a wall, and all your important data, emails, photos, or business files are on the other side.
Here’s what you actually lose if you walk away: access to stored documents, financial records, or customer communications. For businesses, it can mean losing control of a domain or a company-wide tool. For personal users, it can mean losing years of photos and messages.
Before You Panic: Check These Settings First
Before you dive into the recovery rabbit hole, stop and check the devices you use regularly. Many people discover they’re still logged in on an old phone, a tablet, or the family computer. This is the fastest way back in, and it takes two minutes.
- Open the app or website in question on each device you own.
- Go to the security or settings section and look for “Active Sessions” or “Where You’re Logged In.”
- If you see the device you’re holding, you can usually generate a one-time code or approve a new login directly from that screen.
A browser where you’ve saved passwords can also help. Open your browser’s settings and look for “Saved Passwords” or use your password manager. The credentials for the locked account might be sitting right there.
Another option: check your other email accounts for old welcome emails or password reset confirmations. These often list the date you created the account, which is a critical detail for the verification forms later.
The Manual Verification Process: How It Works
If no device has you logged in, you need to go through the provider’s manual identity verification process. Every major service offers this, they just hide it well. Look for links like “Try Another Way,” “Verify Your Identity,” or “I Don’t Have Access to These Options” on the login screen.
The form asks for information only the real owner would know:
- Account creation date: This is the big one. Check old welcome emails or transaction receipts on any other account you have.
- Previous passwords: They don’t need the current one, just any password you remember using.
- Location data: The city or country where you registered the account.
- Phone numbers linked to the account: Even if you don’t have the phone anymore, the number itself counts.
Be honest and specific. Guess wrong too many times, and the provider will lock your request for security reasons. Aggregated user reports indicate that the most common reason recovery forms get rejected is missing or inaccurate creation dates.
Provider-Specific Recovery Paths: Google, Microsoft, Apple, and Social Media
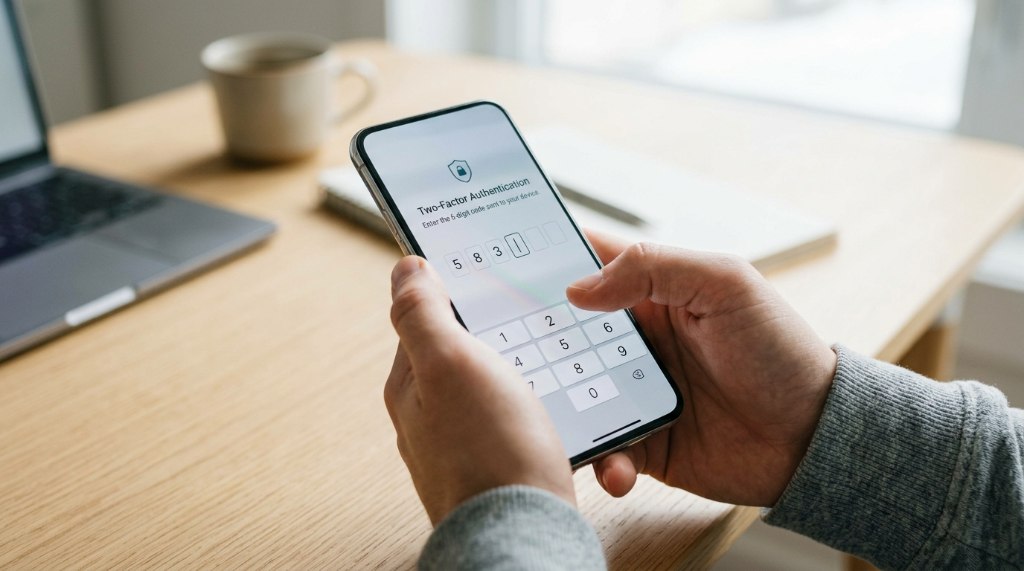
Each provider has its own quirks. Knowing the differences saves you time and frustration.
Google (Gmail / Workspace): Google’s recovery form reads like a quiz. You’ll answer questions about recent emails you sent, contacts, and the date you first signed up. For Google Workspace (business) accounts, the process is stricter.
You’ll need to prove domain ownership by adding a DNS record or verifying access to your domain registrar. If you still have control of the domain, you reset the password at the registrar level before Google will consider the recovery.
Microsoft (Outlook / Hotmail): Microsoft allows you to fill out a lengthy recovery form that asks for the subject line of a recent email and the names of contacts in your address book. If you don’t know these, you’ll likely get rejected. One trick that actually works: if you’re desperate, look into Microsoft’s account closure process.
It triggers a 60-day grace period before deletion, during which you can attempt recovery with different verification methods.
Apple (Apple ID): Apple’s recovery process relies heavily on the IMEI number of your iPhone and the original proof of purchase from the store. If you bought the device second-hand or threw away the receipt, this gets much harder. You’ll need to contact Apple Support directly and explain the situation.
Social Media (Facebook / Instagram): If you think there’s any chance your account was hacked, use the “My Account Was Hacked” path, not the “Forgot Password” path. The hacked flow triggers a stricter identity check, which sometimes includes uploading a photo of your ID. It’s the same verification, but the review queue is faster.
Common Mistakes That Keep You Locked Out
People sabotage their own recovery attempts more often than they realize. Here’s what to avoid:
- Guessing security questions blindly. Wrong answers count against you. If you don’t know the answer, skip the question entirely.
- Spamming the recovery button. Submitting the form repeatedly resets the review queue. Each new submission puts you at the back of the line.
- Using virtual phone numbers. Services like Google and Microsoft have flagged VoIP numbers for years. They detect the number as fake and mark the request as suspicious.
- Ignoring the notes field. If the form offers a text box for additional information, use it. Mention old usernames, albums you posted, or the device you first used. Context helps the reviewer but only if it’s truthful.
Locked Out of a Business Account? This Is Different
Business account recovery follows a stricter playbook. If you’re locked out of a Google Workspace or Microsoft 365 admin account, the provider assumes you’re a potential security threat. They require proof that you own the organization, not just the login credentials.
The first step is checking your domain registrar. Most business emails are tied to a custom domain, and the registrar account (where you bought the domain) often has separate access. If you can log in there, you can usually reset the mailbox password at the DNS level.
This bypasses the email provider entirely.
If you don’t control the domain, you’ll need to prove ownership through DNS records. Providers like Google ask you to add a specific TXT record to your domain’s DNS settings, which proves you control the infrastructure. This is a technical process, but your registrar’s support team can walk you through it.
One critical warning: business accounts have shorter verification windows. If you miss the deadline, the account is often disabled permanently. Set a calendar reminder for every step of the process.
Missing a deadline means losing customer data, financial records, and your company’s professional email history.
A Strategic Approach to Password Recovery
Here’s a method that works well. Instead of trying a scattered approach, create a written plan. Start by listing every account you need to recover, then rank them by importance.
Your email provider, banking, and cloud storage should be at the top.
Once you have your list, gather your verification materials. This includes your ID, proof of address, and proof of purchase for any devices or domain names. Many people spend time searching for these documents after starting the recovery process, which delays everything.
Get organized first, then begin the recovery requests.
When you submit the forms, do them one at a time. Providers sometimes flag multiple simultaneous recovery requests as suspicious. It’s better to complete one recovery, then move to the next.
This reduces the risk of getting locked out of every account at once.
How to Prevent This From Ever Happening Again
Once you’re back in, secure your account so this never happens again. The most important step is adding a backup email address that you actually check regularly. Most providers allow you to set up two or even three recovery methods.
- Add a phone number as a secondary recovery option. SMS codes are harder to lose than email access.
- Generate backup codes and store them in a password manager, not in a drawer or a notes app that you’ll forget.
- Update your recovery email to one you control and check weekly.
- Set a reminder to review your security settings every quarter.
If you haven’t used a password manager yet, now is the time. It’s the simplest way to keep all your credentials and recovery codes in one place, without the stress of remembering everything. Many people avoid them because they seem complicated, but modern ones are surprisingly user-friendly.
When You Should Seek Professional Help
There are limits to what you can do on your own. If you’ve tried the verification forms, contacted support, and still hit a wall, it might be time to escalate.
For personal accounts, try posting on the provider’s official support forum. Community managers sometimes have access to internal tools that frontline support doesn’t. Be clear and professional in your post, and include your case number if you have one.
For business accounts, consider hiring a cybersecurity consultant. They have experience with provider-specific recovery processes and can help you navigate the paperwork. It’s an investment, but it’s cheaper than losing years of company data.
One option many people don’t consider is a legal approach. If your account holds financial data, tax records, or client information, a letter from a lawyer can sometimes speed up the process. Providers take legal requests seriously, especially if you can demonstrate financial or regulatory risk.
Frequently Asked Questions
Can I recover my account without my recovery email?
Yes, if you can verify your identity through other means. Providers like Google and Microsoft offer identity verification forms that ask for your account creation date, previous passwords, and proof of purchase. You’ll also need to set up a new recovery email after regaining access.
How long does account recovery take?
Most manual reviews take 2 to 5 business days. Submitting the form multiple times resets the queue, so it’s better to submit once and wait. Some providers offer expedited review for business accounts with proof of domain ownership.
What if my recovery email was deleted or is inactive?
That’s a common problem, but it doesn’t block you from recovery. You can still use the manual verification process and skip the email requirement entirely. Focus on providing accurate account creation dates and previous passwords instead.
Can I use my phone number instead of an email?
Most providers allow a phone number as a secondary recovery method. As of 2026, Google and Microsoft both support SMS verification. However, they’ve flagged virtual numbers for years, so make sure you use a real carrier-based number.
Will my account be deleted if I don’t recover it?
Provider policies vary. Microsoft keeps accounts active indefinitely as long as you log in, but inactive accounts are deleted after a period of time, often around two years. Google’s inactive account policy is similar, so it’s worth checking your provider’s terms to understand the timeline.
The Bottom Line: You’re Not Out of Options
Losing access to your recovery email feels like a dead end, but it’s rarely permanent. The manual verification process exists precisely for this situation, and it works more often than people expect. The key is patience and preparation.
Start by checking for active sessions on your other devices. If that fails, gather your verification materials and submit a single recovery form. For business accounts, proving domain ownership through your registrar is your fastest route back in.
After you regain access, take prevention seriously. Set up multiple recovery options, generate backup codes, and store them securely in a password manager. Tools like a password manager can keep everything organized without the stress of remembering every credential.
If you’ve exhausted the standard paths, remember that provider support forums and legal escalation are still on the table. Don’t give up after one rejection. The worst that happens is a longer wait, not a permanent loss.